ECE 3400, Fall’17: Team Alpha
Lab 1: Microcontrollers
Goal
The goal of this lab was to get acquainted with the Arduino Uno microcontroller, and to build and control a basic robot.
Lab Procedure
-
First, we installed the Arduino IDE from this link
-
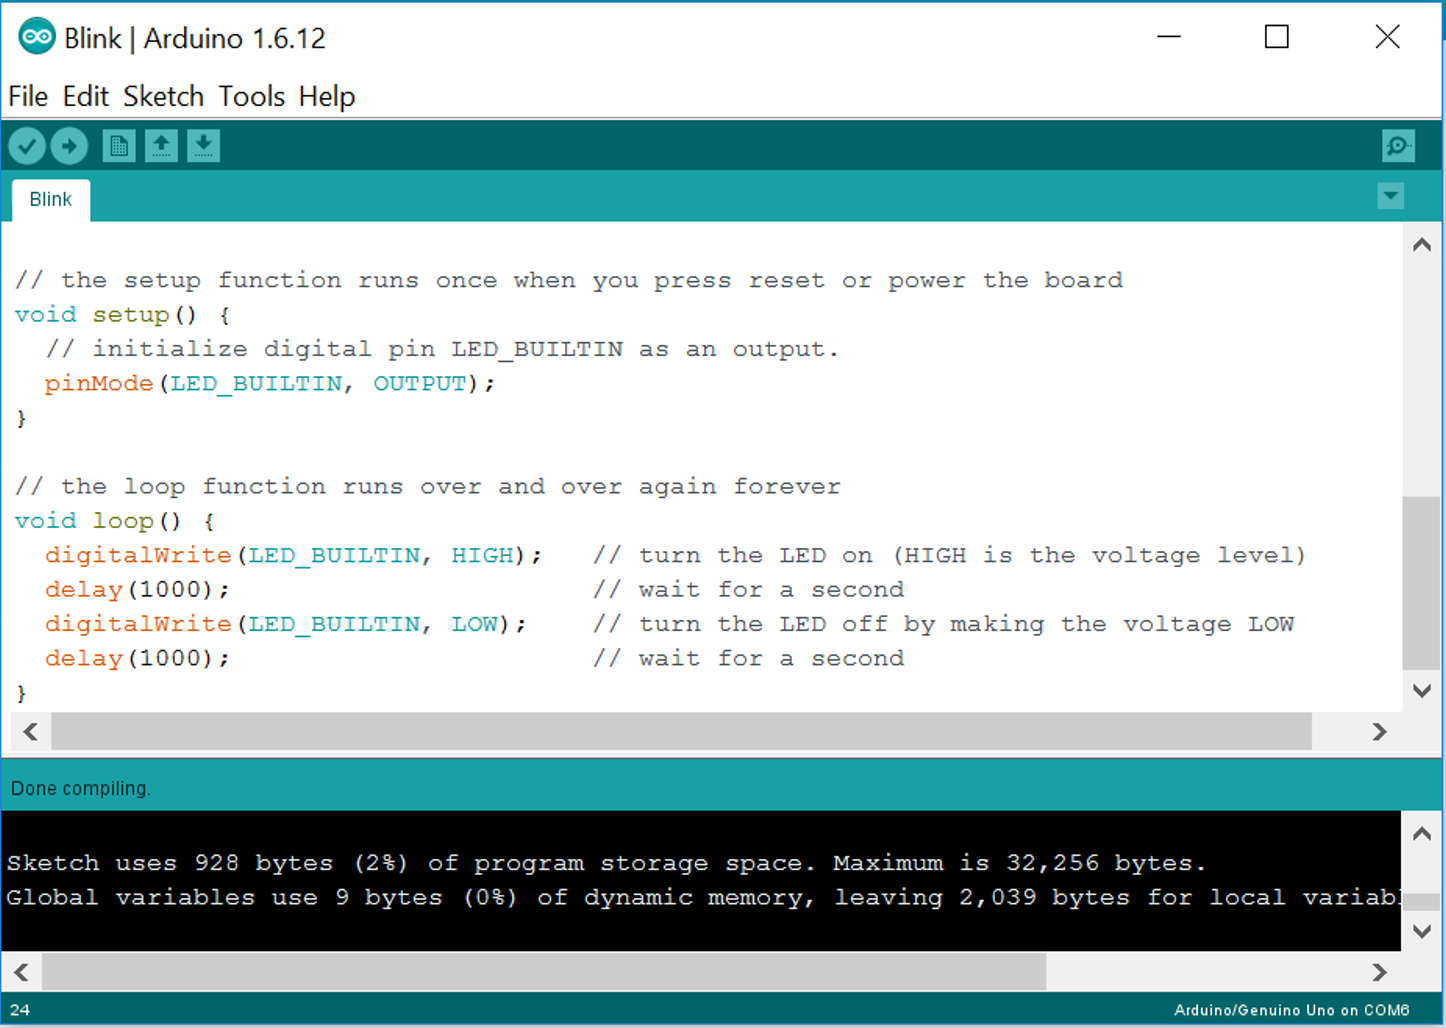
Second, we tested the blink sketch on the Arduino (File->Examples->Basics->Blink):

- Third, we modified it to work with an external LED, by adding these lines of code:
pinMode(9, OUTPUT); //Setup pin 9 as output
digitalWrite(ledPin, HIGH); //Turn on LED
digitalWrite(ledPin, LOW); //Turn off LED
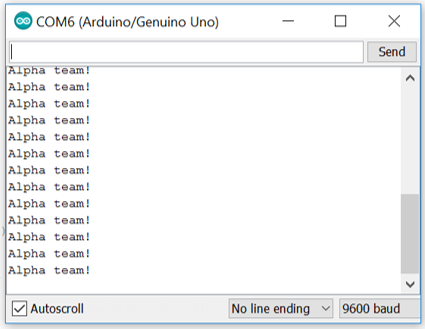
- Fourth, we communicated over serial interface:
Serial.begin(9600);           //Setup serial interface to communicate with 9600 baudrate
Serial.print("Alpha team!");  //Send text
Serial.println("");           //Carriage return

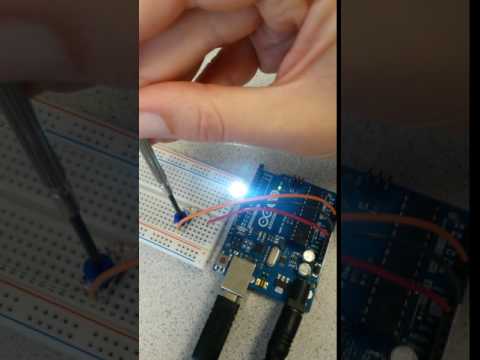
- Fifth, we read an analog input from a potentiometer connected to A0, and used it to control the brightness of the LED:
potmeter = analogRead(A0); //Reads an ADC conversion from pin A0 using default settings for the ADC (10 bit conversion).
Serial.println(potmeter);  //Send the potmeter value to the screen
analogWrite(ledPin, potmeter>>2); //The analog write function only takes 8bits, so we have to divide our value by 4
- Sixth, we controlled a continuous rotation servo-motor using the library servo.h:
#include <Servo.h>  //Library
Servo myservo;      //Declare instance
myservo.attach(11); //Attach the servo input to pin 11 (set it up as a pwm output, 20Hz)
myservo.write(0);   //0 is full speed reverse, 90 no speed, 180 full speed ahead
- Then we assembled the robot, here are the pieces we used:

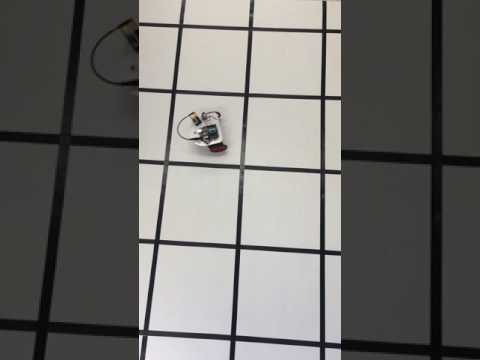
- Finally, we made it drive in a (sorta) square. Clearly we need to tune the motor values better, and start relying on sensors to track the black lines in the future!
Helpful links
- We found the Arduino website to be incredibly helpful.
- Also, this code allows you to diagnose your Arduino Uno. Here, you can see how fast a clock cycle really is, how long a conversion takes, etc.


