Expand VM Hard Disk Space
Some students would like to use the VM as a one-stop shop by including the Arduino IDE in the VM as well. The hard disk in the VM is limited to 10GB to keep the requirements small and make it easy to distribute. In this tutorial, we are going to first allocate more space in the VM Disk in VirtualBox and then expand the filesystem of the Ubuntu VM to use the newly allocated space.
DISCLAIMER: Make sure to back up any data in your VM before you do this.
If you havent used your VM for anything apart form the initial setup, you dont need to worry about this :).
Expand VM Disk Allocation
- Shutdown your Ubuntu VM.
- In VirtualBox, select “File-> Virtual Media Manager”. Now Select the “ECE4960-disk***.vdi” and increase the size by moving the slider in the “Attributes” panel.
If you don’t see the “Attributes” panel, right-click on “ECE4960-disk***.vdi” and select “Properties”.
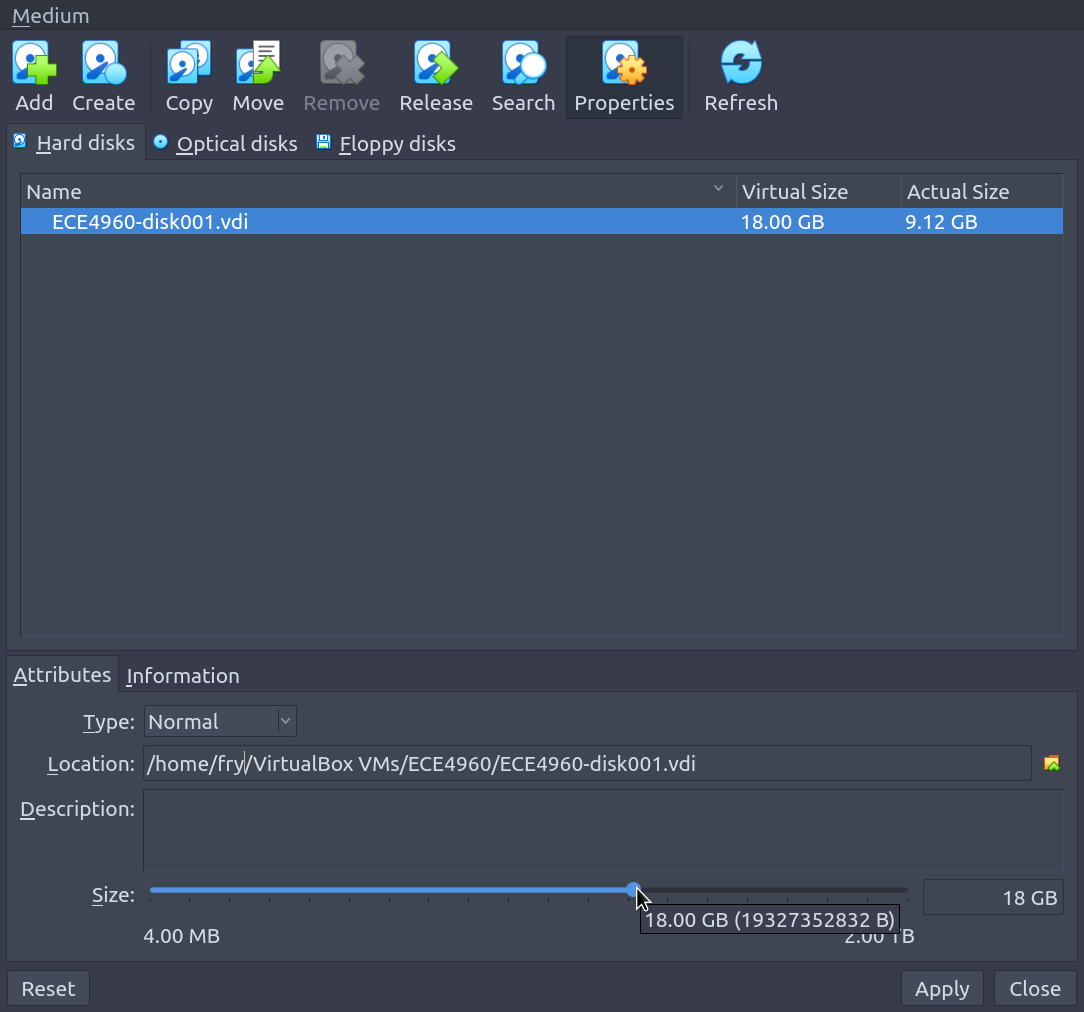
- Make sure you have the required free space available in your system. If you have a lot, bump it up to 18 GB.
- Click on the “Apply” button.
Install gparted
- Boot your VM.
- Open a new terminal and type:
sudo apt install gparted -yType in your password when requested.
Extend the file system
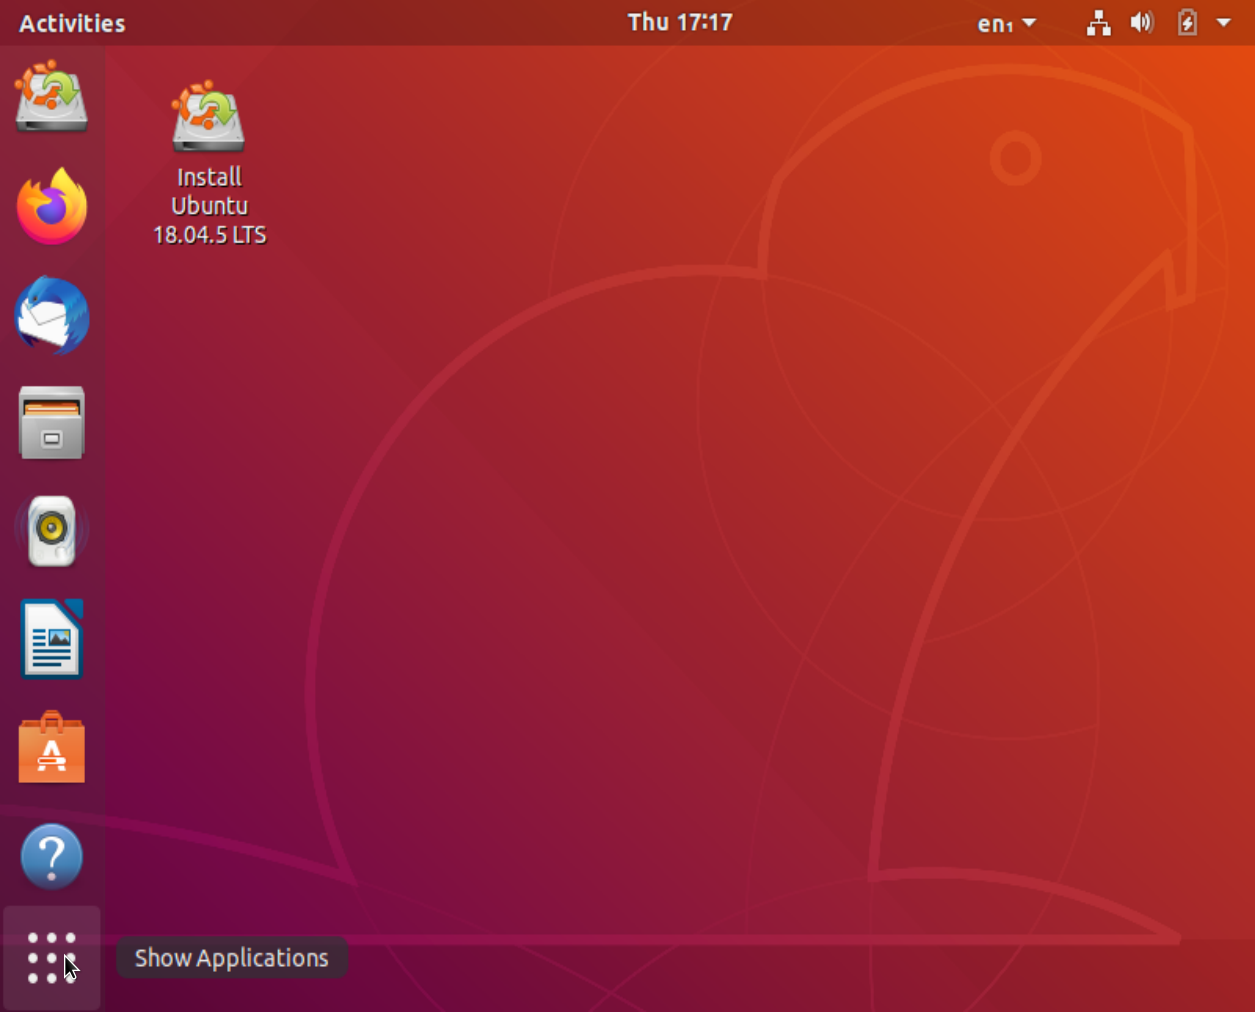
- Click on “Show Applications” from the dock.
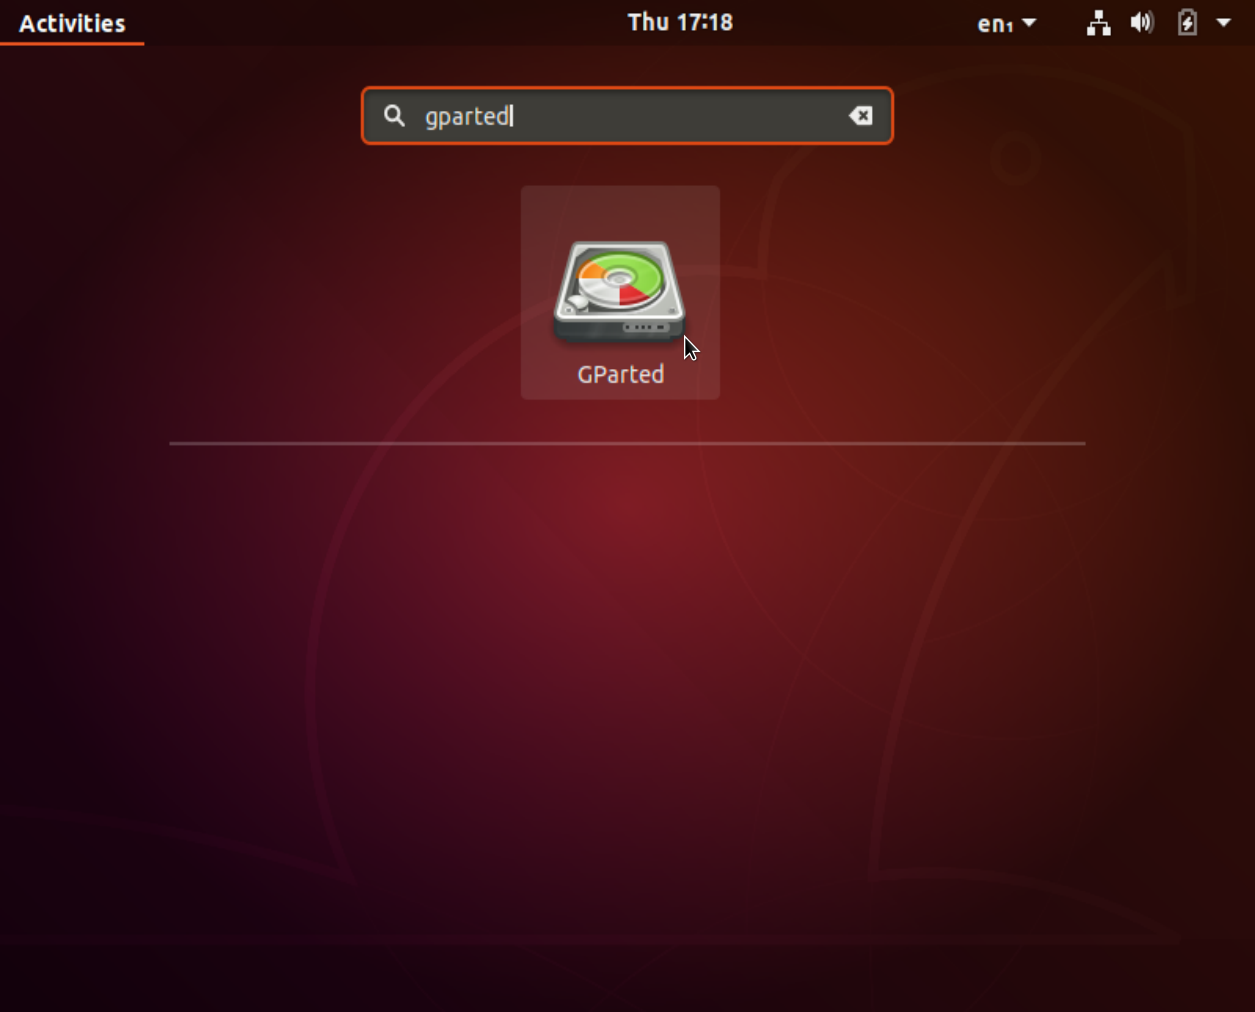
- Search for “gparted” and launch the application.
If this does not work, open a new terminal and type
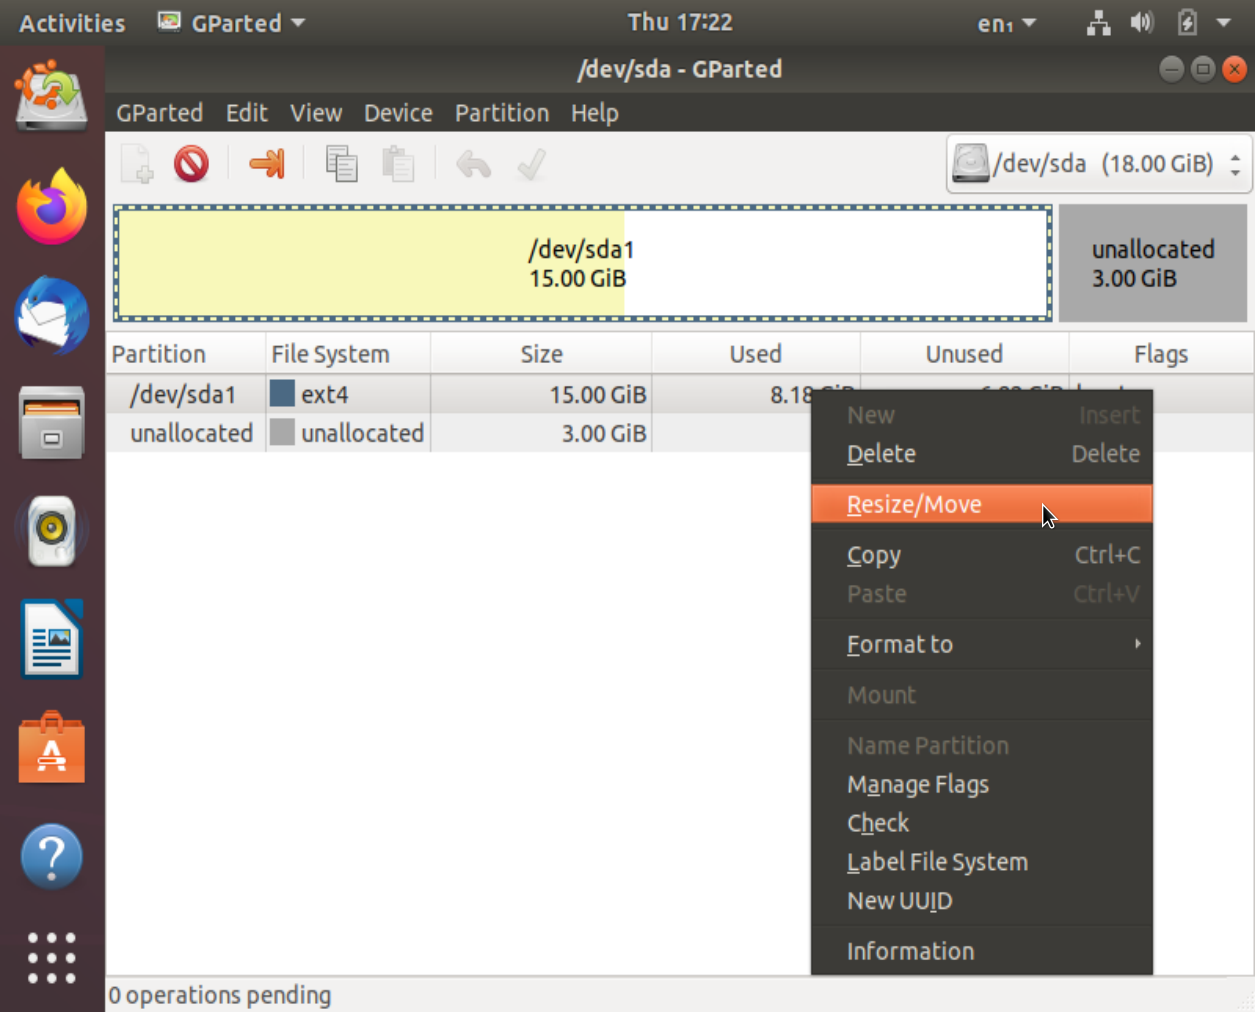
sudo gparted - In the gparted application, you should see the extra “unallocated space” in addition to a “ext4” File System.
Do not worry about the exact numbers. In my case, I increased it from 15GB to 18GB.
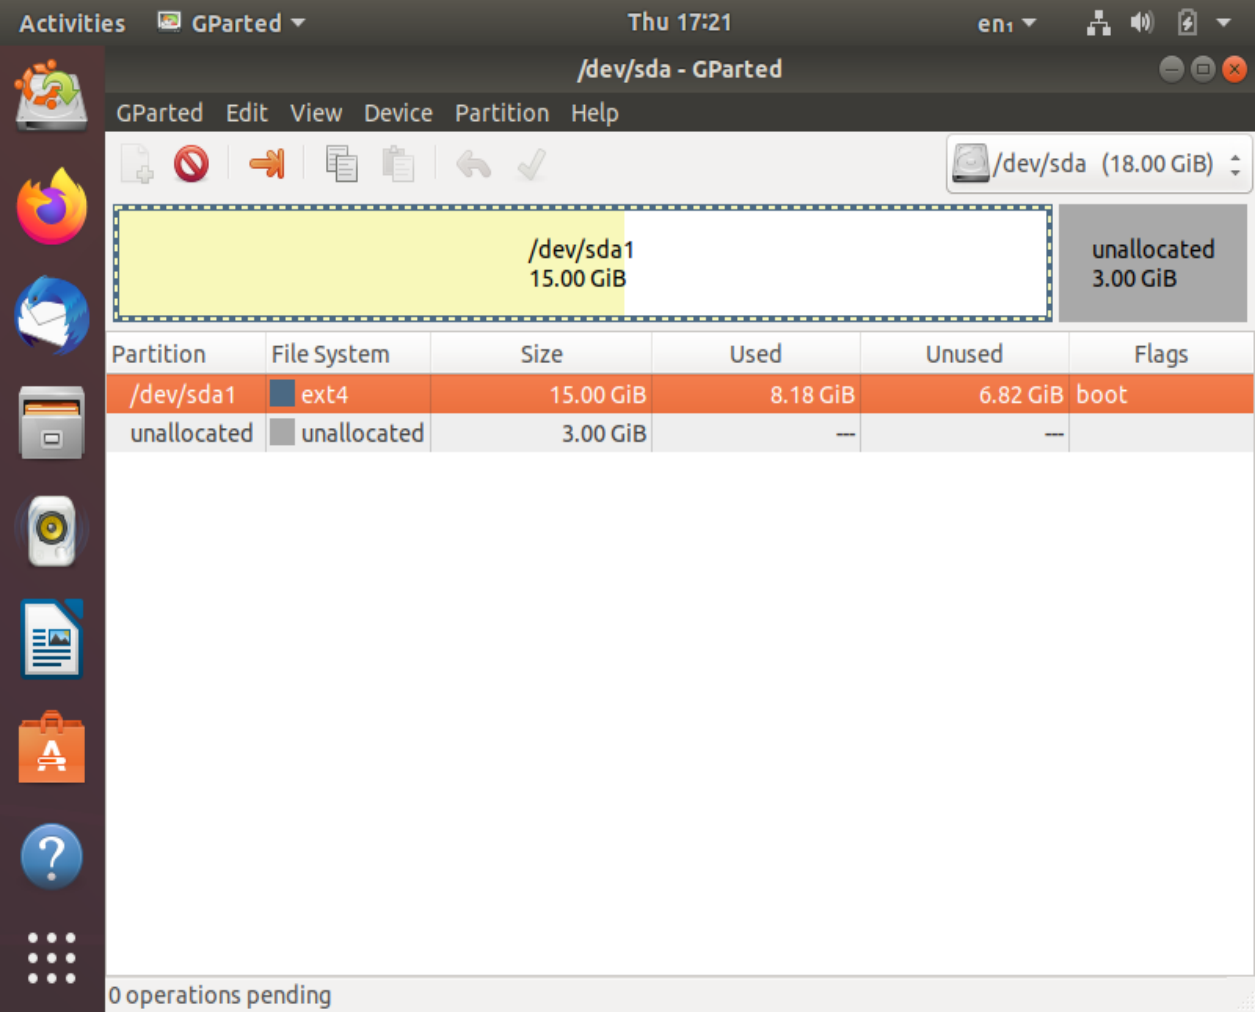
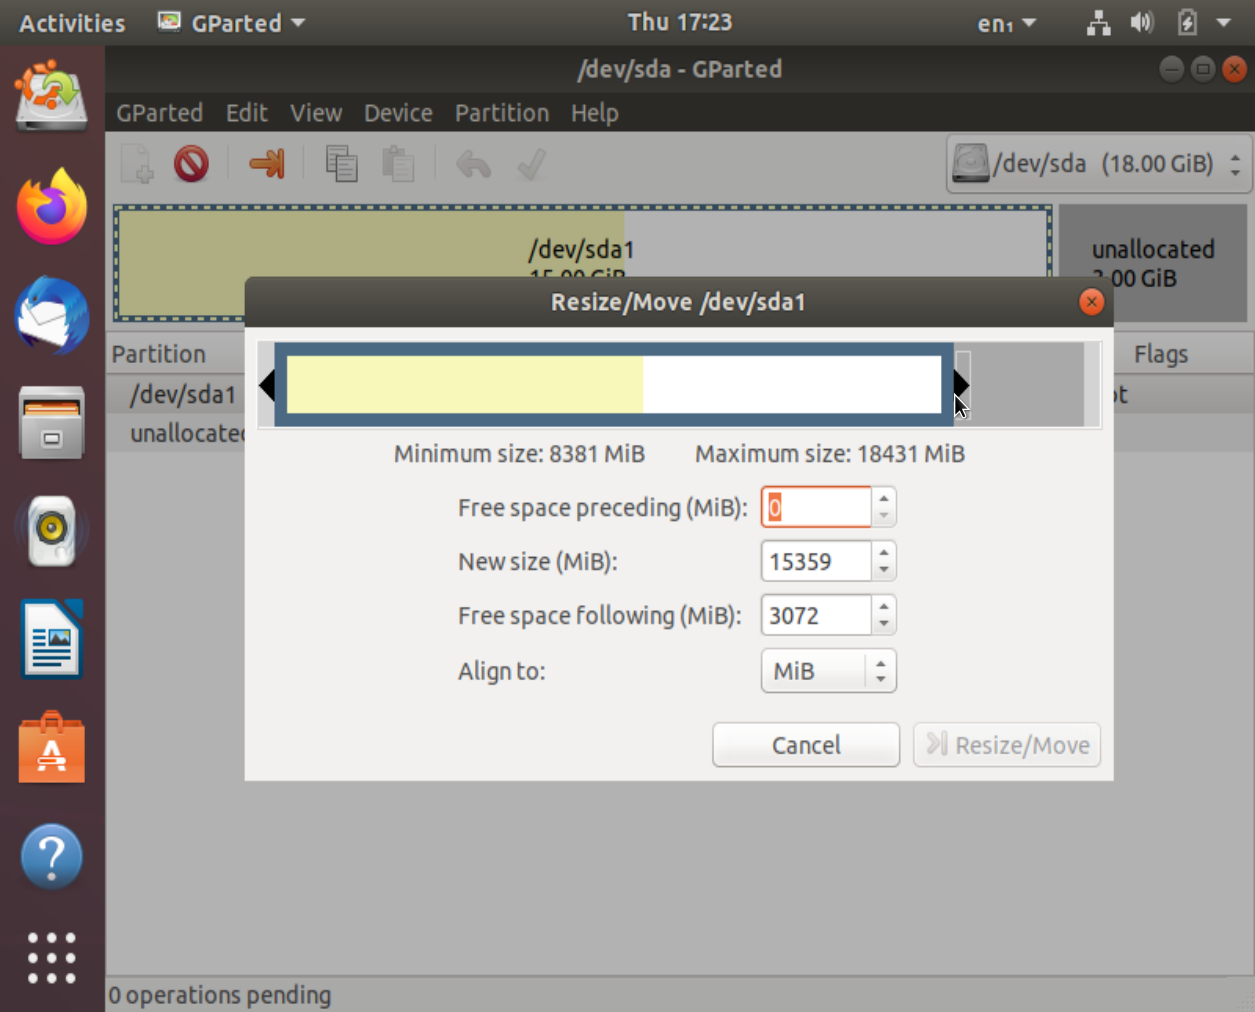
- Right click on the “ext4” file system and select “Resize/Move”.
- Now in the bar shown, click and drag it all the way to the right end to expand the current filesystem to use all of the unallocated space.
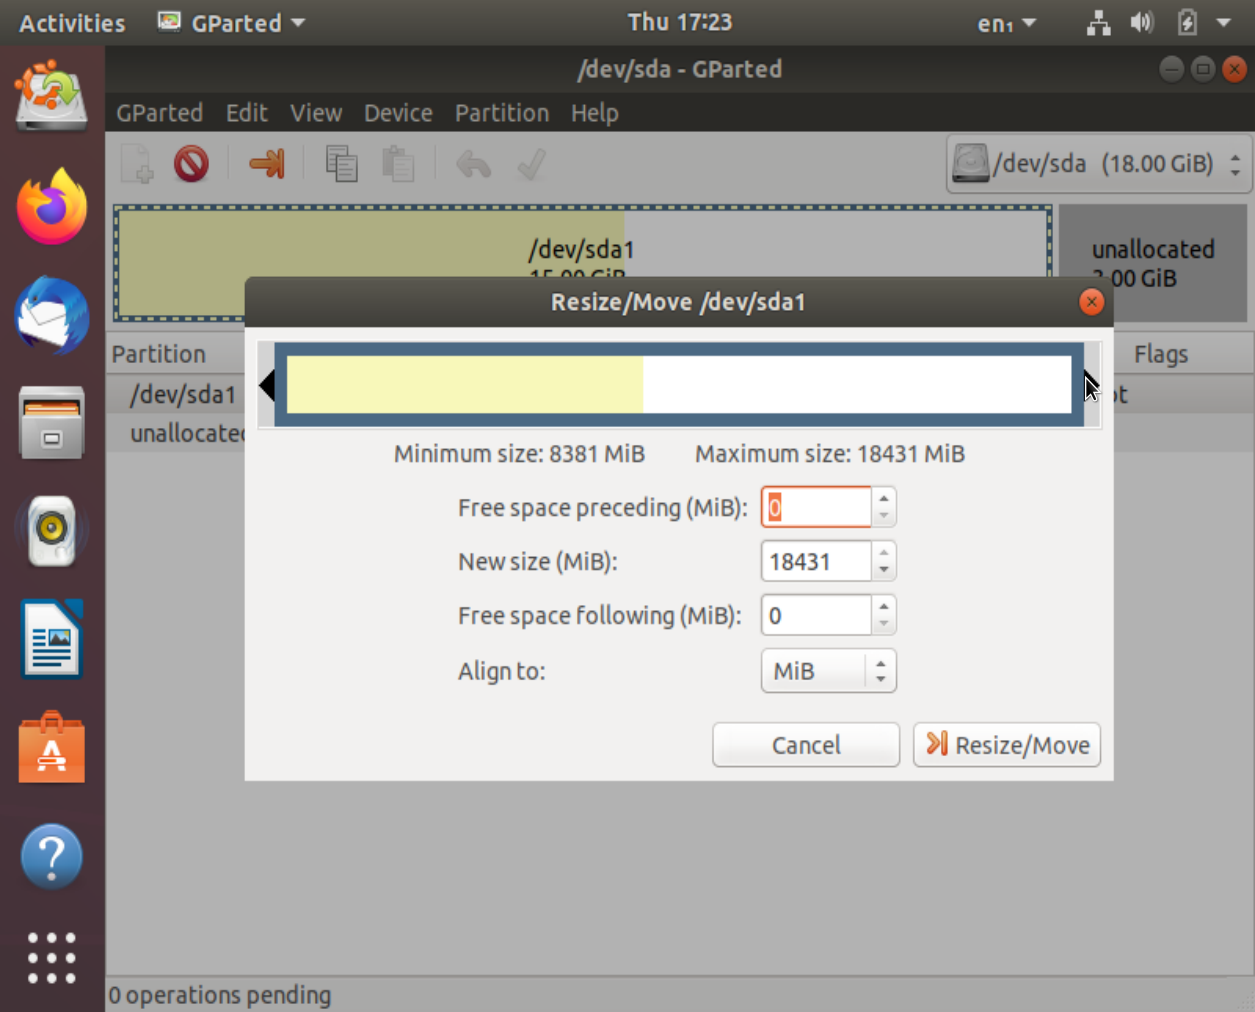
- Click on the button “Resize/Move”.
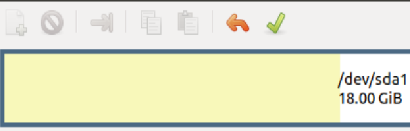
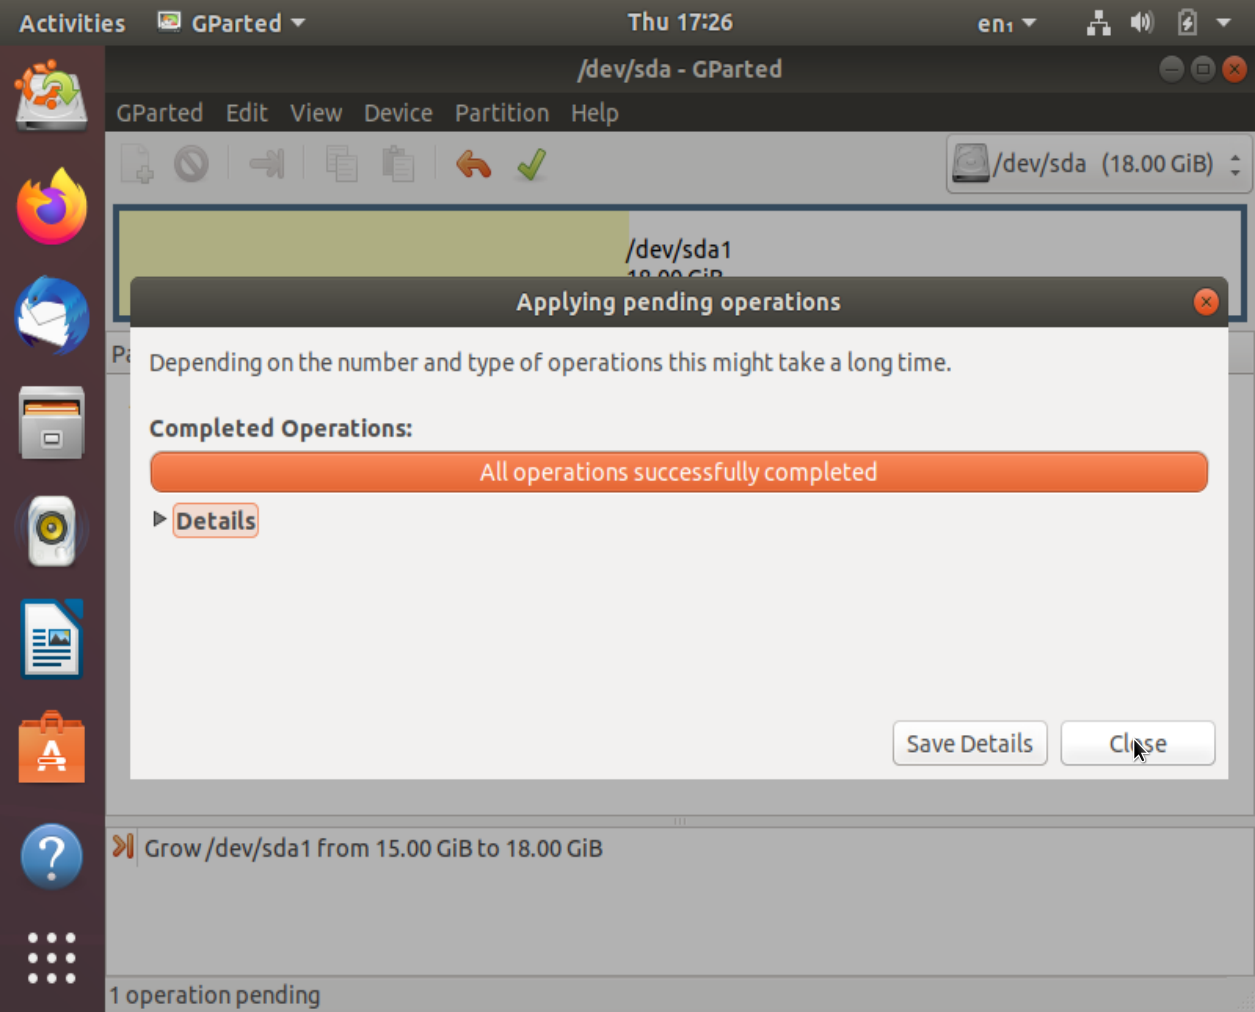
- Now click on the green check mark and click on “Apply” on the popup window.
- Click on the “Close” button after the message “All operations successfully completed” is displayed.
- Restart your VM.
In case the VM does not reboot, contact Vivek. There is a slightly more involved but safer way to extend the file system. It should take you less than 20 mins to set it up.
Validate
- Once your Ubuntu VM has booted, click on “Show Application” in the bottom left corner of the dock and launch the application “Disks”.
- It should now show you the new size of your system.
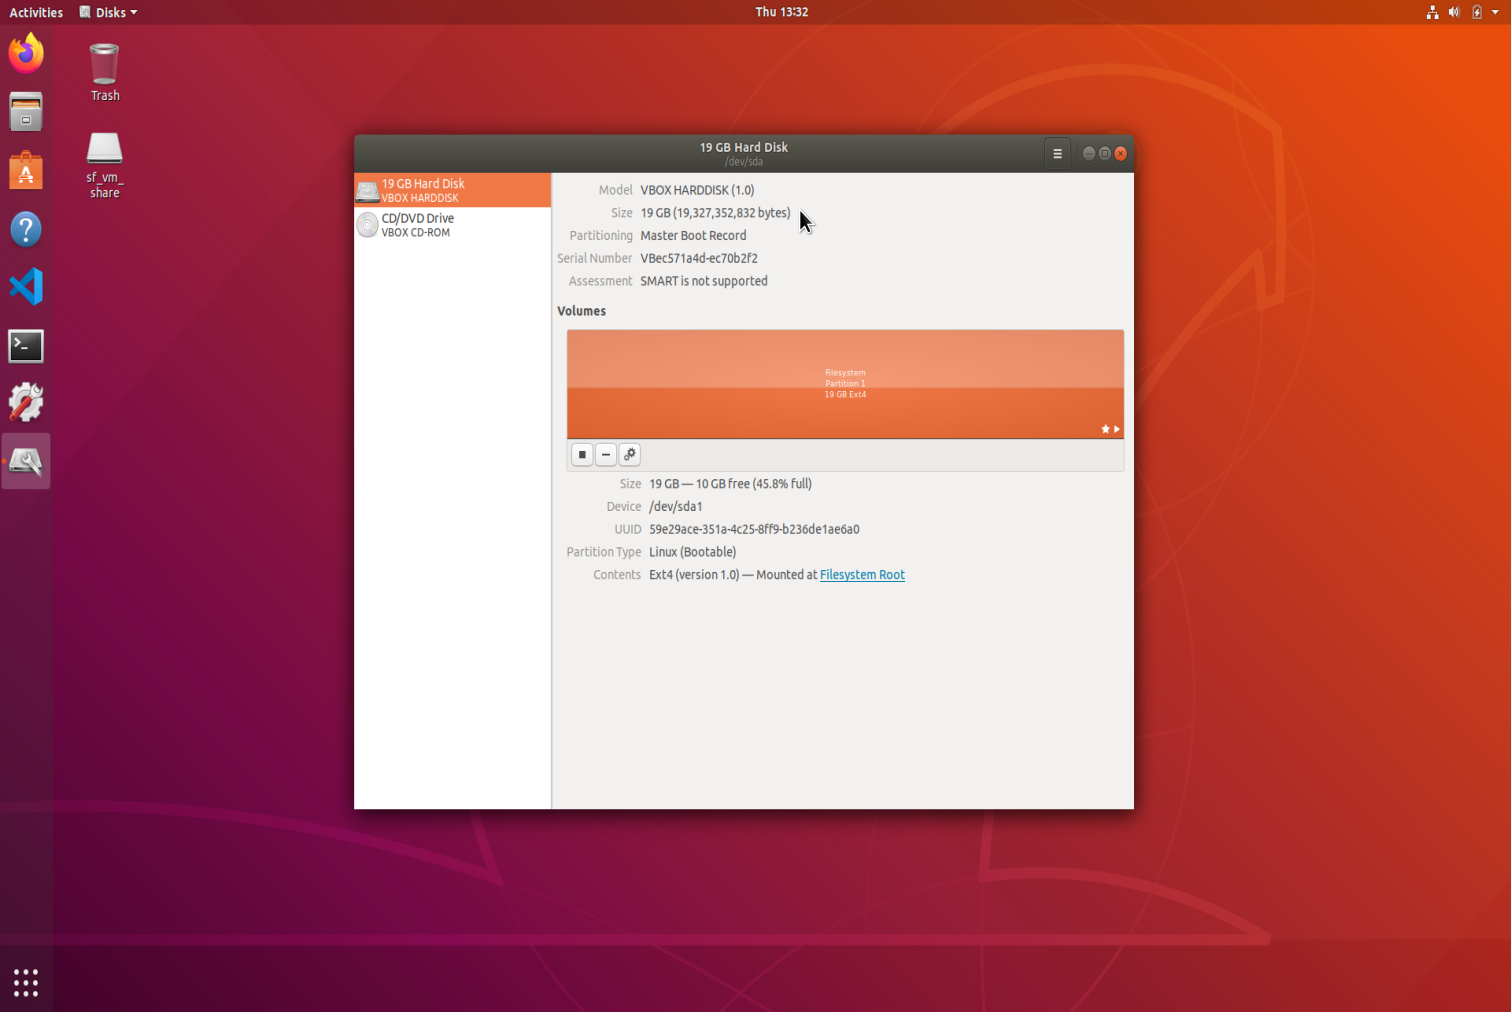
In this screenshot, my file system is now 18GB in size.